A Neurosim Build Using Windows Subsystem Linux
Windows Subsystem Linux is a powerful tool that allows developers on Windows to run a GNU/Linux environment directly on Windows, unmodified, without requiring the overhead of traditional VM or dualboot setup. If you are a traditional Windows User who is interested in learning GNU/Linux, WSL can serves as a very easy first step–letting you keep the creature comforts of Microsoft while also giving you the ability to develop in a highly versatile and popular OS.
For the purpose of NetPyNE development. I am writing end-to-end development walkthroughs, including this starting intro to running NetPyNE on Windows through WSL (preferred).
Links
Anaconda
https://www.anaconda.com
GitHub
https://github.com
Jupyter
https://jupyter.org
NetPyNE
http://www.netpyne.org
NEURON
https://neuron.yale.edu/neuron/
Windows Subsystem Linux
https://docs.microsoft.com/en-us/windows/wsl/
Steps
First we will set up WSL through Windows PowerShell. By default, the WSL setup will install Ubuntu as a subsystem. Then, we will install Anaconda onto the Ubuntu subsystem, configure an Anaconda environment dev, and install NEURON and NetPyNE in that environment.
How to set up your Virtual Machine
- Run Windows PowerShell as administrator

- Use Windows PowerShell to install Linux with
wsl --install
- Reboot your system
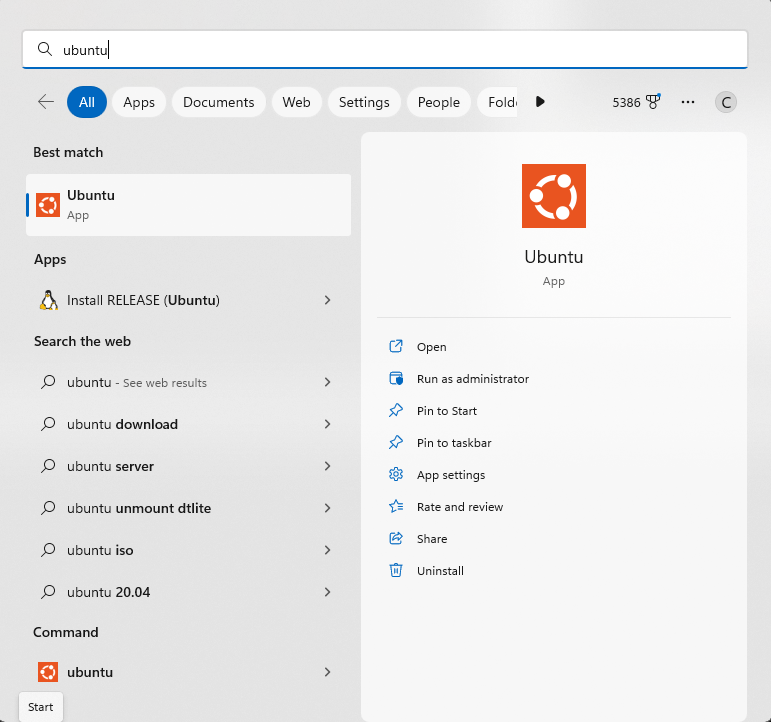
- The Ubuntu subsystem will now be accessible as an app in windows.
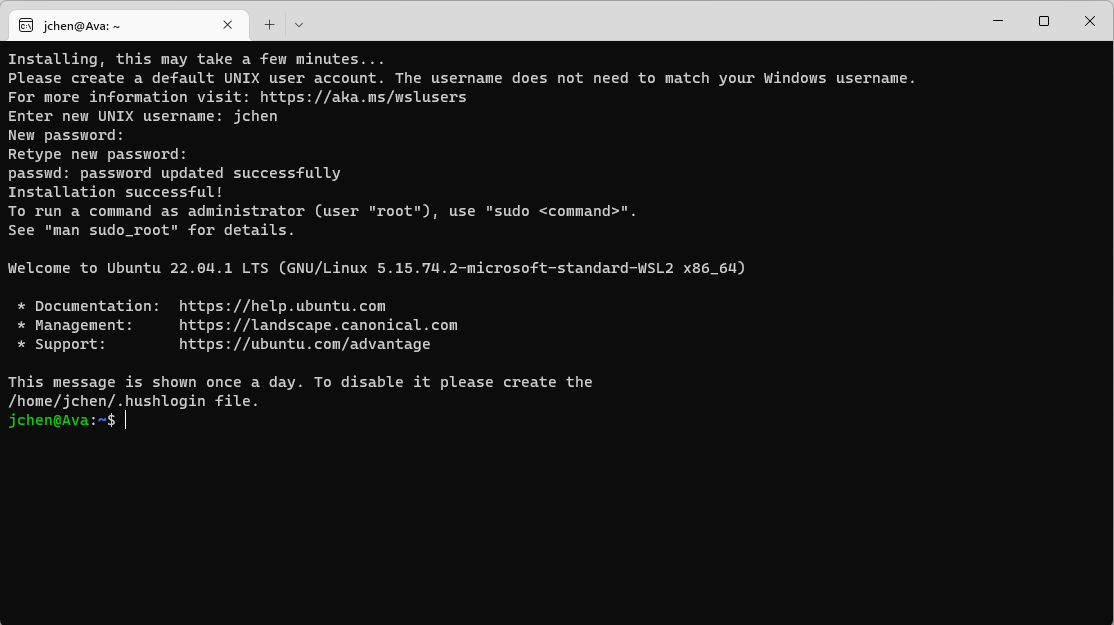 You now have access to your subsystem Linux, create your profile username and password through the terminal.
NOTE: Password
The password you entered will be used for any commands requiring admin access in Linux. You won’t see any characters or placeholders when you type it.
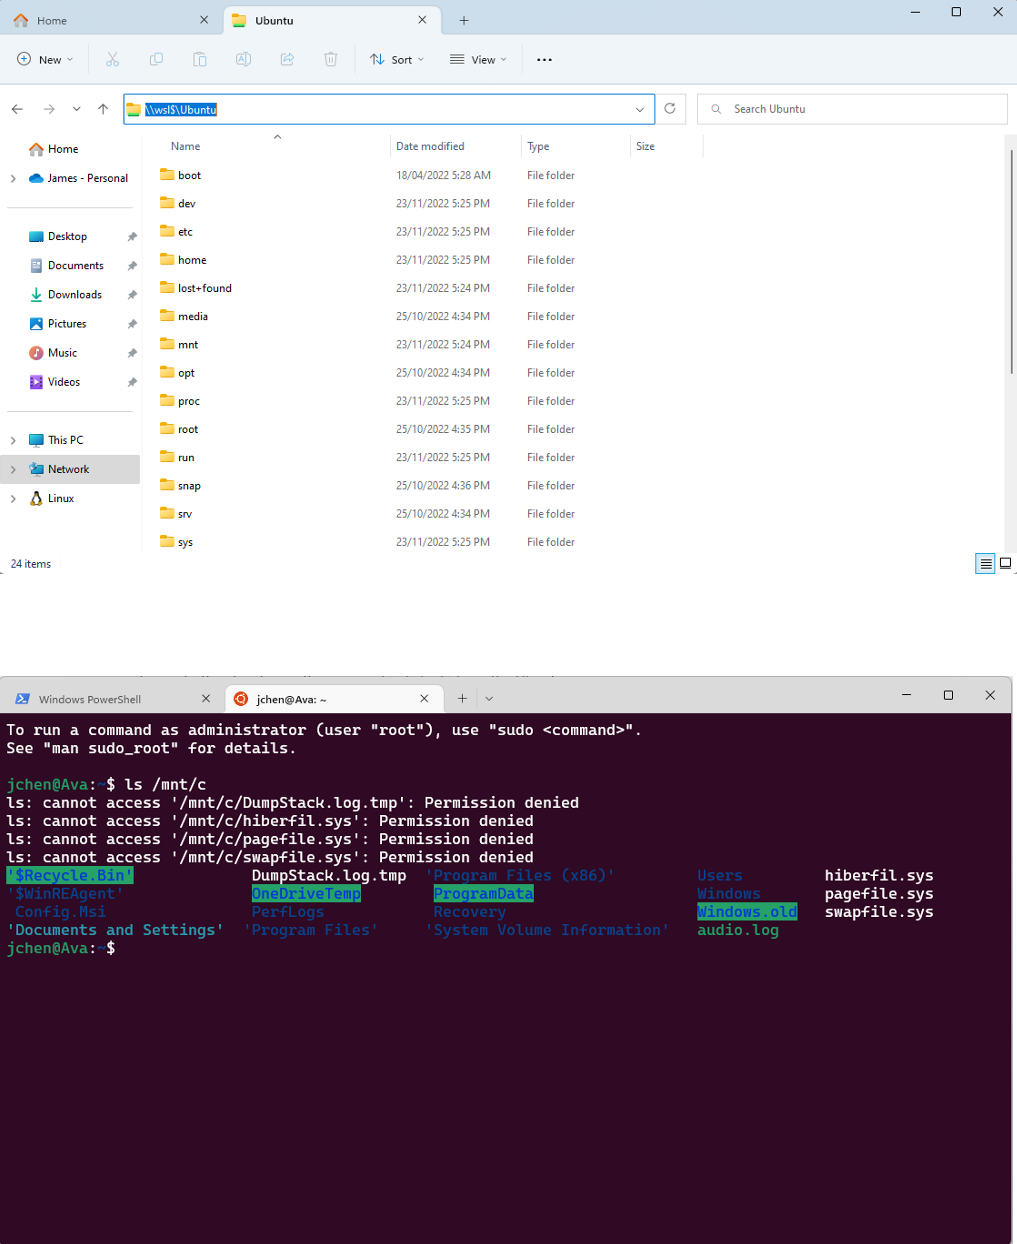
NOTE: Accessing your Windows/Linux files
Within your linux subsystem, you can access your Windows files under the directory /mnt. You can change to this directory with command cd /mnt from the Ubuntu
Within your Windows machine, you can access your Linux files under the directory \\wsl$. By opening File Explorer, you can view all files in your linux subsystem by replacing the entry in the left navigation bar with \\wsl$
Setting up your Python environment - Anaconda installation,
- Get the Linux Anaconda Installer (likely the x86_64) from the Anaconda site
- On Windows, open the File Explorer
- In the Windows File Explorer search bar navigate to your
Ubuntu\tmpdirectory:
\\wsl$\Ubuntu\tmp - Move your Linux Anaconda Installer (the file just downloaded with the extension
.sh) to your Ubuntu\tmp directory - On Windows, open Ubuntu to start your Linux subsystem.
- In your Linux subsystem perform the following steps:
- Navigate to your tmp directory using the
changedirectory command:
$ cd /tmp - run the
bashshell script with the following command:
$ bash Anaconda3-xxxx.xx-Linux-xxxxxx.sh
where-xxxx.xx-Linux-xxxxxxis the specific release number and architecture specified by your download
the shell supports autocomplete, so you can autocomplete the line by typingbash Anaconda3then hitting the Tab key
typeyeswhen prompted by the installer - The Anaconda3 shell script will modify your startup
.bashrc,sourceyour.bashrcwith the following command:
$ source ~/.bashrc - Create a custom Anaconda
devenvironment andactivateit
(base) $ conda create --name dev --clone base
(base) $ conda activate dev - Optional: set up your shell by appending the activation command to your startup
.bashrcso that it automatically moves to thedevenvironment on startup
(dev) $ echo "conda activate dev" >> ~/.bashrc - Install NEURON and NetPyNE from the Linux subsytem shell with Python’s built-in installer
pip:
(dev) $ pip install neuron
(dev) $ pip install netpyne - Try importing neuron and netpyne in
ipythonto see if the installation worked:
(dev) $ ipython -i>>> from neuron import h
>>> from netpyne import specs

You now are running NetPyNE and NEURON on your subsystem Linux
NOTE: Instruction Set Architecture
The multiple Linux installers available point to different shell scripts and repositories depending on your instruction set architecture.
unless you are using a supercomputer, a server mainframe, or an embedded system, it should be x86_64
NOTE: Anaconda environments
Anaconda environments help encapsulate Python programming environments–this is useful if you want to work on projects with different packages / libraries.
In this case, we are cloning the base environment into a dev environment.
When something breaks in this environment, we can simply remove the encapsulated environment and recreate it with conda commands.
Whereas if we accidentally corrupted the base environment, we may have to fix everything within Anaconda.
Make sure that you are in the correct Anaconda environment before running any Python package commands